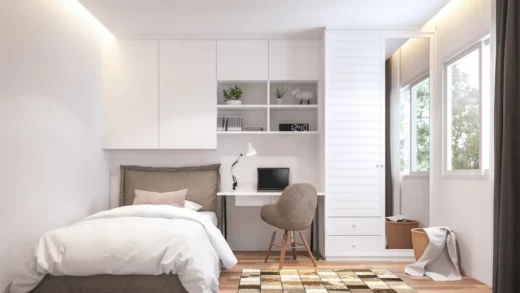
It’s useful to know how to distress furniture if you want to mix and match handmade or modern furnishings with old or vintage pieces. Specific DIY distressing methods offer practically endless options for updating vintage items, personalizing finds from garage sales or estate sales, and upcycling furniture from thrift shops or furniture left on the curb. This guide defines various distressing styles and offers step-by-step instructions on how to distress furniture to help you achieve the makeover results you desire if you want to give your personal possessions a timeless feel.
Table of Contents
What is Distressed and Why Do People Do It?
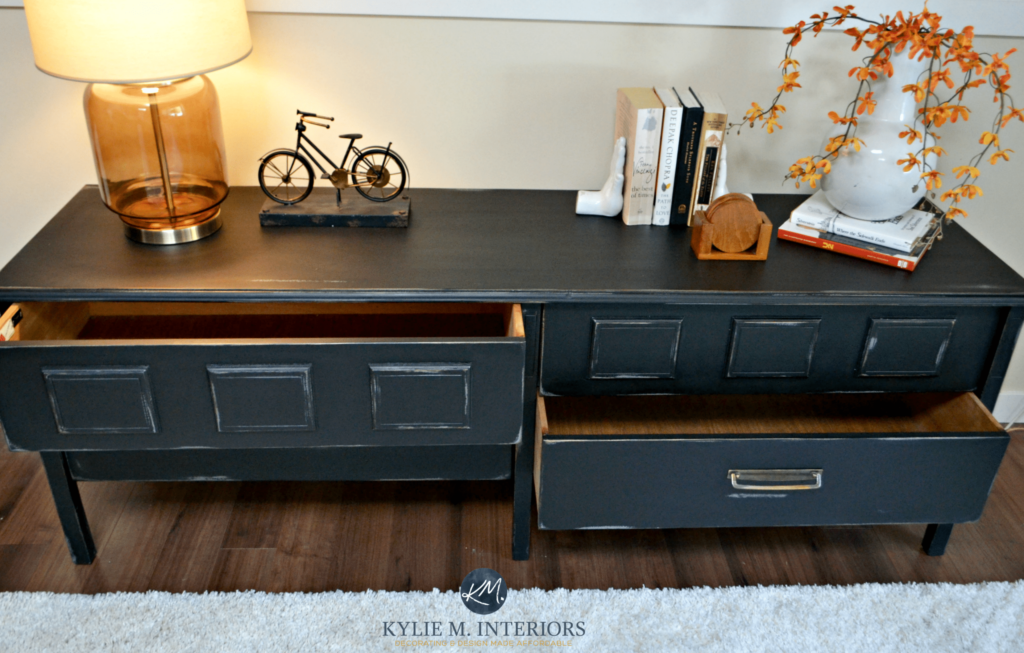
It’s common practice to distress furniture to breathe new life into worn-out pieces of furniture. It entails painting your furniture, then removing some of the paint from specific areas of the piece to expose the original stained wood underneath.
If you have children at home, you are aware of how damaging they can be. Children will undoubtedly scratch and dent your furniture, but distressing it can help hide those blemishes.
Materials To Distress Furniture
- Paint brushes
- Latex paint
- Sandpaper
- Polyurethane
- Tarp
- Tack cloths
- Hand sander
- Screwdriver
How To Distress Furniture?
Learning how to distress furniture involves following a series of relatively easy and uncomplicated steps. As with any DIY project, this one usually starts with setting up your workspace and cleaning your piece. Distressing techniques, however, vary depending on the look you want to achieve. To help you choose the best method for your DIY project, this furniture distressing tutorial walks you through a variety of popular techniques.
Cleaning and Sanding the Surface
It’s time to clean the wall, item, or piece of furniture you want to distress after you’ve set up your space. Tri-Sodium Phosphate is a simple solution for getting rid of all the mud and grime, especially on genuine antiques. Fill any holes and sand down any rough areas that don’t fit with your distressed aesthetic once you’ve thoroughly cleaned the surface. Consider using Oxalic Wood Bleach by Real Milk Paint Co. if you find any metal stains and want to get rid of them. before you move on to the furniture painting step.
Painting Your Piece
Consider your desired outcomes before applying Real Milk Paint to the piece of furniture you wish to distress. For example, if you want to create the appearance of layered paint, you might want to combine both colors simultaneously, adding our Anti-Foaming Agent to the first batch you’re using while allowing the other color to settle naturally. With our Real Milk Paint powder, you can quickly mix up as little or as much as you need because it mixes in a 1:1 ratio with water. If you want to use it on patio furniture or landscaping materials, our Outdoor Additive gives it additional resistance to mildew and bleed-through from wood knots.
You can begin painting once you’ve mixed the formulation to the desired consistency. Use a foam roller to achieve a surface that is smooth and free of brush strokes, or regular paintbrushes to achieve a traditionally painted appearance. When using real milk paint, you don’t need to wait long after applying the first coat before adding the second. The second coat should wait until the area has been distressed to your satisfaction if you’re using layering techniques.
Preparing Your Work Area
You must set up your workspace before beginning your DIY distressed furniture project. Put down a drop cloth or tarp to protect your flooring after taping off any area of the piece of furniture you’re distressing with masking or painter’s tape.
Distressing Wood Via Damage
While many furniture distressing techniques are intended to be applied after painting, most makeovers call for abusing the surface before painting. You can begin by using imperfect wood for DIY projects that have already been somewhat distressed, or you can choose woods that mar easily and damage them yourself. Using a wire brush attached to an electric drill, you can create deeper grooves in the surface of softwoods to mimic the appearance of weathered barn wood. Other methods include beating the wood with a chain to add small dings or striking it with a rag loaded with sharp nails to add shallow divots. Go on to the painting phase once you have the desired results.
Adding Distressed Effects
Depending on the effects you want, there are numerous DIY methods available to achieve distressed furniture effects. Before choosing which distressing techniques to employ, it is helpful to take into account the entire piece. You should also prepare your materials before starting.
Other Tools & Tips
The longer you wait, the harder the paint will dry and the more difficult it will be to remove. So it’s best to not delay distressing your piece for too long. See how you feel after trying it for 15-20 minutes. Give it more time to dry if it’s coming off too much. Try using a lightly abrasive kitchen scrubby in place of a damp rag if you’ve waited too long and the paint has dried on too thickly.
Once the last coat of paint has dried, you can begin distressing it with a wet cloth or fine-grit sandpaper. Utilize a wet cloth and a sanding sponge in tandem with one of these techniques to achieve the desired effect.