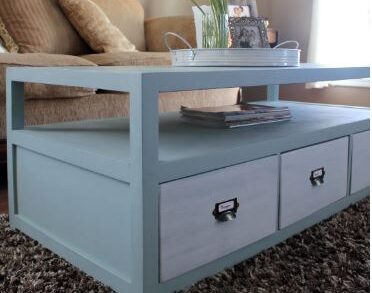
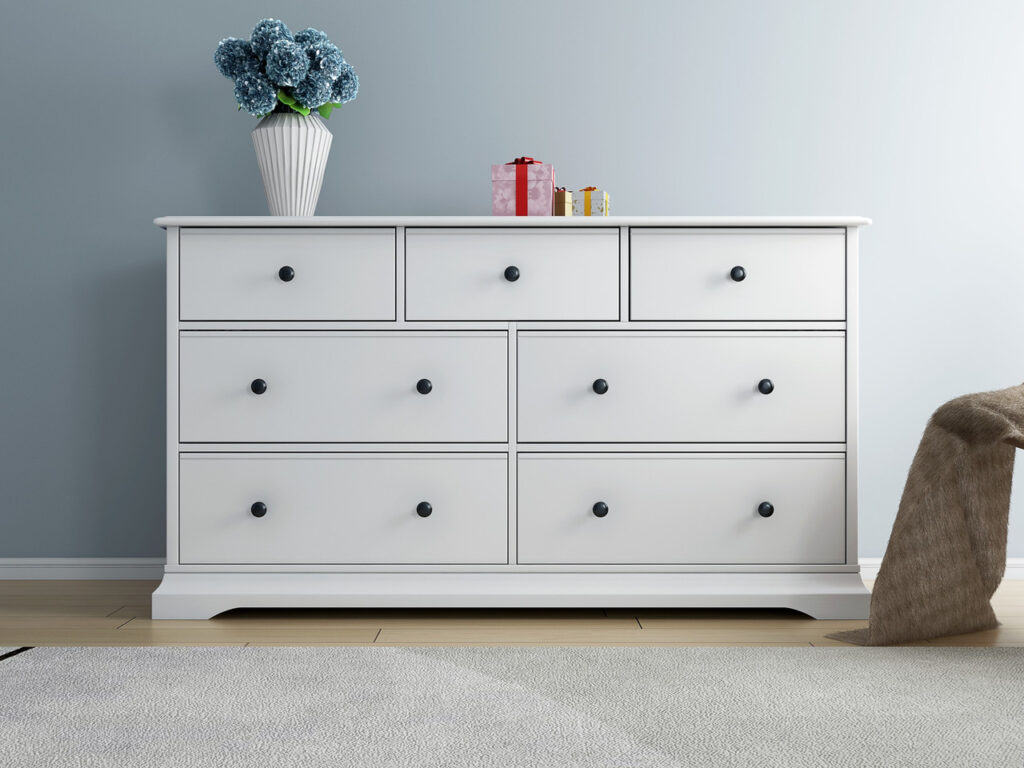
I know I’m in the minority here, but I enjoy making drawers. It never gets old, and whenever I can, I love including them in the furniture I make. But I’m aware that many people find making drawers to be difficult and frustrating.
I make all of my drawers out of ¾” plywood for the box and ¼” plywood for the bottom. Making sure that everything is square and in line takes up a lot of the time when creating, installing, and building drawers. I prefer to build my drawers out of plywood because I won’t have to be concerned about twisted or warped boards interfering with alignment.
Table of Contents
Basic Rules For Building A Drawer
These guidelines will always be valid, regardless of the technique you choose.
- Choose between overlay and inset drawers before anything else. This will change the length of the drawer. In this article about the components of a cabinet, you can read more about the distinctions between these two categories.
- If you’re using plywood for the sides, apply edge banding before you start assembly. This gives your drawer a more polished appearance and makes the boards appear to be solid wood.
- Measure the depth and front opening of the cabinet. In case it varies from one side to the other, take the measurements at a few different places. When deciding the size of your box, use the smallest measurement.
- Ensure the squareness of your drawer box. Cross the box diagonally in both directions, measuring from corner to corner. Your drawer isn’t square and won’t fit correctly if the measurements aren’t exactly the same.
- Choose the drawer slides you’ll use before you begin construction. Side-mounted drawer slides are the most typical type, but undermount drawer slides are gaining popularity. Every drawer slide will have a different set of installation instructions, which will dictate the width of the drawer.
- Consider the weight capacity of your drawer. For heavy items, some drawer construction techniques are more appropriate. You don’t want the drawer’s bottom to spill out!
- Assemble your drawer with the front and back between the sides. In addition to having a more appealing appearance from the side, this has the shear strength required to withstand repeated use.
Required Tools
- Miter Saw
- Table Saw
- Brad Nailer OR Narrow Crown Stapler
- Iron
- Tape Measure
- Pencil
- Safety Glasses
- Hearing Protection
Materials
- 3/4″ Pre-Finished Plywood
- 1/2″ Pre-Finished Plywood (Optional to use 3/4″ for sides)
- 1-1/2″ Brad Nails OR Narrow Crown Staples
- Iron-On Pre-Finished Maple Edge Banding
- Wood Glue
Drawer Box Size
I’m going to use the same 3D model of an overlay drawer with industry-standard ½” thick side-mount drawer slides for all three of the examples below. A cabinet with a minimum depth of 21″ and a width of 16″ can accommodate this drawer.
For the sides, front, and back of each box in this example, 1×6 boards were used, resulting in a drawer box that measures 5 ½” high, 15″ wide, and 20″ long. The dimensions of your cabinet may vary, so use the steps below to calculate your own measurements.
Sides
The sides ought to be at least an inch shorter than the depth of the cabinet and ought to match the length of the drawer slides.
Front And Back
Your cabinet opening’s width, along with the thickness of the drawer slides and the sides, all influence the front and back sizes. You can do it, even though it requires a little bit of math.
Bottom
Depending on how it is put together, the bottom will be a certain size. Err on the large side when having plywood precut at the store; you can always trim the bottom to fit after the box is assembled.
I advise using ¼” plywood for the majority of projects, though you should think about using ½” plywood for drawers that will hold bulky items.
How To Build Drawers?
1. Predrill
The edge of the wood won’t split if the screw holes are predrilled. The screw heads can rest flush against the side of the drawer box by countersinking the screws.
On the longer side pieces, mark a line 38″ from each end. along this line, drill three countersink holes.
2. Glue And Screw
Where the boards will be connected, apply wood glue. To align the pieces at a 90-degree angle, use a square. Then, use 1 ¼” wood screws to attach the sides to the front and back. Make sure the screw heads are flush with the wood’s surface or slightly below it. Although less powerful, brad nails are another option.
Make sure your drawer box is square. Cross the diagonal in both directions and take a measurement from corner to corner. It’s square if the numbers match. If they aren’t, you can align the box by squeezing a clamp across the wider diagonal. Before continuing, let the glue dry completely.
3. Glue And Nail On The Bottom
Cut the ¼” plywood bottom to the precise measurements of the box you just constructed.
In order to align the plywood bottom with the corners and sides, apply wood glue along the bottom edge of the drawer box. To secure the bottom to the box, use panel nails, and a hammer or a brad nailer. Alternatively, if you prefer, you can use tiny screws.
That’s it; you can either paint over the screw holes or leave the drawer box as-is.
4. Install The Drawer Box Into Slides
There are many ways to install drawer boxes, but this method is simple and effective. When installing a drawer, I always begin at the bottom. I extend the drawer box and the slides on both sides by ¼” before placing scraps of plywood underneath.
One 5/8″ wood screw is inserted into a vertical slotted hole on each side of the slide and drawer box after they are extended so that the front edge of the slide is flush with the front edge of the drawer box.
After that, I extend the drawer and insert another screw into each side’s corresponding round hole while keeping the drawer pushed down on the scraps of ¼ plywood.
I then take the drawer out of the slide and fasten another screw to the slide’s back. To remove the drawer, fully extend it; there are two tabs on each slide. A push will be made upward and downward. Pull the drawer straight out while simultaneously pushing these tabs.
add a screw into the end either in a round or slotted hole.
The drawer should then be slid back into position, and any necessary adjustments should be made using the screws in the vertically slotted holes. The screw holes are slotted so that they can be easily loosened, adjusted, and then tightened again in the event that adjustments are necessary, which they usually won’t be.
The best way to become accustomed to drawers is to use them.! In this post, I have literally explained everything that I have learned by doing it myself. Therefore, hope it was helpful, but now it’s up to you to put it to use and become accustomed to it. I have faith that you can succeed in this.