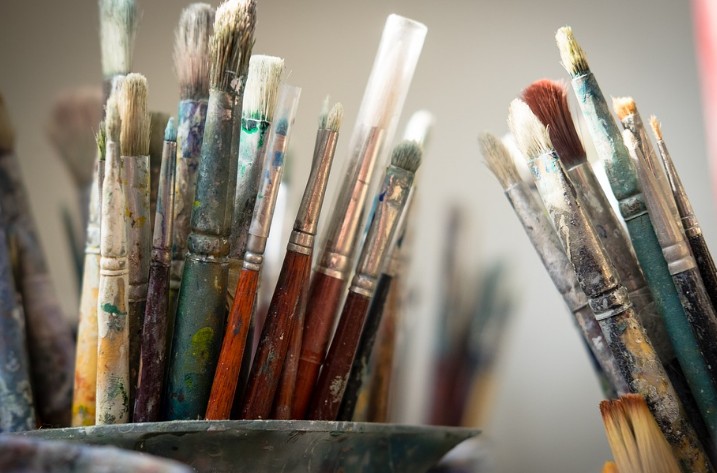
If high-quality paint brushes are not properly cleaned and stored after use, the investment is wasted. In fact, rushing a paint job’s completion can leave you with paint flecks in your brushes, which will result in an uneven finish on your next project, as well as misshapen bristles. Follow this instruction on how to clean paint brushes by taking the extra two minutes necessary to complete the task correctly.
Table of Contents
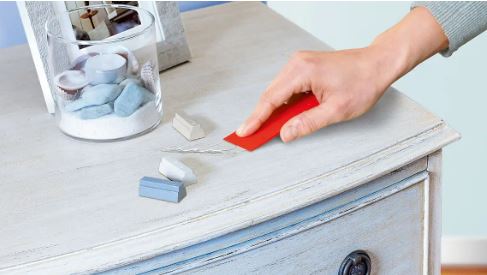
Choosing The Right PaintBrush
The price of these artistic supplies is one of the main reasons we stress how crucial it is to clean your paintbrushes. Keeping them up will ensure that you get your money’s worth.
While it’s easy to grab the cheapest paintbrushes you come across, it’s crucial to learn how to pick high-quality brushes in the first place.
- Consider the bristles: Aim to match the bristle type to the surface you’re painting. Paint brushes can be made with natural bristles like animal hair or synthetic bristles. If you’re using paint that you can wash with water, go with synthetic bristles. Choose natural bristles if you’re painting with oil-based paint because they produce a smoother finish. The bristles will become too soft because they absorb more water if you use natural bristles with water-based paints.
- Synthetic bristles: If you decide on synthetic bristles, we advise using a nylon/polyester blend or a brush with Chinex bristles. These are supple, produce smooth results, and give the painter more control.
- Natural bristles: The general rule of thumb when it comes to natural bristles is that the more expensive the brush, the better quality it will be. Complete sets are typically $10, but single brushes can be found for $5, which would suggest a higher-quality brush. Maintain your spending plan, but don’t cut corners. Additionally, there are many different kinds of bristles, including pony, hog, squirrel, and more. Everybody excels at using different kinds of paint. For watercolor or tempera, for instance, use ox bristles. For watercolor and oil, use sable hair.
- Paint brush size: If you’re painting a tiny canvas or an entire house, you’ll need different sizes. Brushes can range in width from a few millimeters to several inches. However, we advise using a paint roller if you’re painting a house.
- Brush end: Brush ends come in three different varieties: chisel trim, square trim, and angled. These are more suited to painting houses than artwork. Because it makes a straight line, chisel trim is excellent for corners and edges. The best trim brushes for flat surfaces are square ones. For window trims, angle-cut brushes are used.
- Brush styles: You’ll get a variety of brush styles in addition to brush ends. For corners and edges, thin angle sash works well. The best sash to use for painting trim and ceilings is an angle sash. For flat areas, a flat sash is best. For large flat surfaces like exterior siding, trim brushes with a flat surface are the best. For painting a wall, wall brushes—which are thick and flat—can be used in place of a roller.
- Handle: Additionally, think about the length and material of the handle. The majority are made of wood or plastic, but you must ensure that it will feel good in your hand. You’ll need a longer handle if you’re painting with oils or acrylics on an easel so you don’t smear your masterpiece. For flat painting, detailing, or painting houses, shorter handles are preferable.
The Right Way To Clean Paint Brushes
1. Remove Excess Paint
The first step is to thoroughly clean your roller of any leftover paint. With a putty knife, scrape the roller over your paint can to get rid of extra paint. The subsequent steps will be simpler as a result. Additionally, since the paint is recycled into the paint tin, no paint is wasted.
2. Rinse Roller
Use warm water to rinse the roller’s center. When you put the roller on a roller frame again, it will be more challenging to insert and remove because the paint inside the roller has been removed.
Following that, position your roller vertically in the sink and direct the water toward the center. This produces a fountain that cascades down the roller’s side. As rinsing the roller can take some time, you can leave it while it’s doing so.
Flip the roller over the other way and repeat after a few minutes.
After a few more minutes, rub the roller with your hands to remove more paint while running it under the faucet.
You won’t be able to leave the roller with the hose while using oil-based paint, so simply point it in the middle and hold it there for a few minutes on each side.
3. Add Dish Soap (Optional)
Apply some dish soap to the roller if it still appears to be dirty. Put on gloves if you’d like and scrub it in with your hands before rinsing it off with lukewarm water and massaging it with your fingers. Paint and stains will be easier to remove this way.
4. Dry The Roller
Go outside after returning the roller to the frame. Shake the roller vigorously to get rid of extra water and fluff the fibers. After that, stand the roller vertically on a towel and allow it to completely dry by air. This will stop one side from becoming flattened.
When To Replace A Paint Brush
The last thing you should think about doing after learning how to properly wash paintbrushes is replacing them. However, there will eventually come a time when you’ll have to buy new ones.
Replace your paint brush if:
- The bristles are shedding: The paintbrush’s life is almost up when its bristles begin to molt. Don’t worry, getting a new brush will greatly improve your work.
- The brush has lost its point: At a point, round brushes and rigger brushes converge. It’s time to update the brush if it no longer has this specific point. However, avoid trashing the brush. For various parts of your painting, you can keep it and use it without the tip. To use the brush for stippling or dry brushing, you could also cut off the very end.
- Bristles are misshapen: After cleaning, it’s crucial to comb your bristles out and reshape them so they don’t become stuck in an awkward position. But if your bristles simply won’t return to their original shape, it may be time to get some new brushes.
- Your painting is jagged: It’s time for a new paintbrush if you can’t draw a straight line with it any longer.
- Too difficult to clean: It’s possible that the paintbrush is beyond repair if you tried our cleaning method and it didn’t work.
- Broken handle: The brush should be replaced if the handle is damaged or splintered.